3DPCR
3D Printer Component Repository
Grab exactly the 3D printer components you need without bogging down your assemblies.
You can view, use, and export from the live Onshape document directly through your browser—no software installation required.
Open Onshape 3DPCRThis 3DPCR document is designed to be the ultimate reference library for anyone building custom 3D printers, toolheads, or motion systems. Instead of hunting down dozens of obscure datasheets or downloading heavily detailed step files that crash your CAD software, everything here is built as lightweight "clearance models."
If you use Onshape, you don't need to download anything. Just insert the parts directly into your active workspace using the public link or by searching "3DPCR".
These models intentionally omit complex internal geometry like bearing tracks, motor coils, or fan blades. They are strictly for layout, clearance checking, and assembly mapping. Do not try to use these to manufacture replacement internals!
This is the standard workflow when you are putting together a full printer or toolhead in an Assembly tab.
 tab at the bottom of the screen.
 button in the top left corner of the toolbar.
 tab. You can either paste the 3DPCR URL into the search bar, or simply search for "3DPCR" and hit Enter.
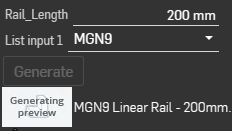 to set your specific size (like swapping a 2510 to a 4020).
 to finish.
Realized your 4010 fan doesn't push enough air amd need 1 4024? You don't need to delete it and insert a new one! Right-click the fan directly in your Assembly feature tree, select Change configuration  , pick the new size, the part will morph instantly without breaking your existing mates!
If you are designing a printed mount (like a fan duct or an electronics bracket) inside a Part Studio, you need the physical reference bodies in the same workspace to design around them. You do this using the Derived feature.
 button on the main toolbar. and search for "3DPCR" or paste the 3DPCR URL. at the top of the menu to match the part you are designing around..
You can now sketch directly on the faces of the derived part, or use the Boolean tool to subtract its volume from your custom mounts for perfect clearances!
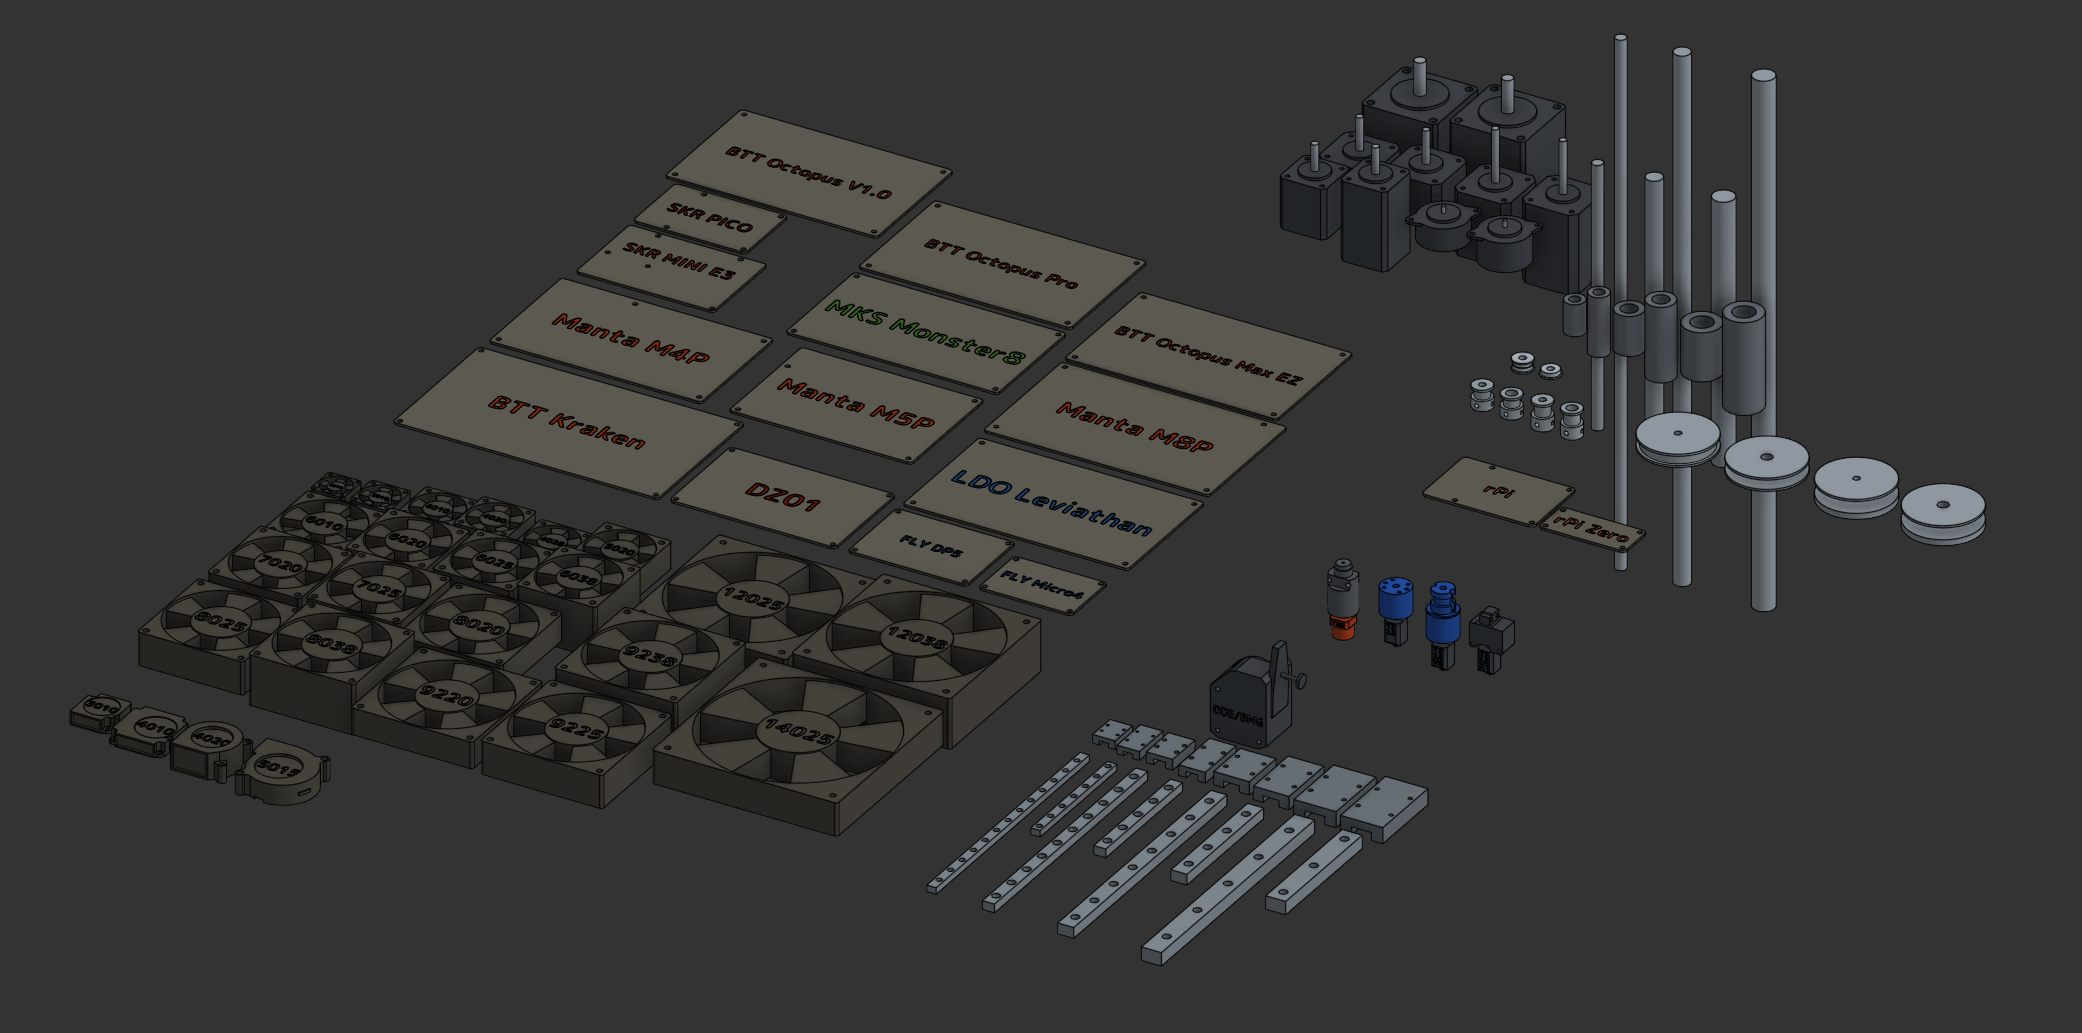
| Category | Part Studios | Details |
|---|---|---|
| Electronics | Boards: MKS Monster8, SKR Mini E3, SKR PICO, DZ01, Manta M4P/M5P/M8P, BTT Kaken, LDO Leviathan, FLY Micro4, FLY DP5, Duet 2 WiFi, Duet 3 EB, Duet 3 6HC, Duet 3 EB 1HCL SoC: rPi, rPi Zero |
Accurate mounting footprints and clearance volumes. |
| Motion & Hardware | Bearing: F695 (Single & Stack) Motion: MGN Rail, MGN Carriage, Linear Rod, Linear Carriage Pulley: GT2 20T, GT2 80T Motor: NEMA Motor |
Highly configurable. Select NEMA sizes, MGN block sizes (H/C), and rod diameters from dropdowns. |
| Fans | Radial: 3010, 4010, 5015 (Individual) Axial: Master Configuration Studio |
Axial studio covers dozens of sizes from 2510 to 14025. Radials are a bit more complicated, most sizes cant be scaled up or down easily. |
| Extrusion | Extruder: DDE/BMG Hotend: TD6, TZ 2.0, TZ 2.0 V6, TZ 2.0 X1 |
Growing library of printhead components. |
| Other | Endstop: Optical Endstop, Trianglelabs Optical Endstop | The small bits that makes a difference. |
If you prefer to work in offline CAD software, you can easily pull files from this document. Because the parts are parametric, you will need to export the specific size you require.
 .
.The 3D printing space moves fast, and new hotends, extruders, and boards are released constantly. Building out the Hotend and Extruder sections takes a massive amount of time for one person, so community contributions are incredibly welcome!
To keep the library legally clean and performant, any submitted models must adhere to two strict rules:
If you have modeled a new popular component following the rules above, please reach out! You can use the contact form on my main website at kanrog.com, or email me directly at [email protected]. Send a link to your public Onshape document, and if it meets the standards, it will be merged into the 3DPCR!
This library is a living document, and there are big plans to expand it. Here is a look at what is currently on the roadmap to be added in future updates:
This library was created to take the friction out of the design process. Spend less time measuring mounting hole distances, and more time actually building your dream machine. Happy making!